Quick answer. Cast on 2.25 stitches for every inch of width, knit in a stitch that lies flat, and bind off in pattern with stitches a little looser than the rest. Check the width against the cast-on edge before you cut the yarn.
- Cast on: 81, 108 or 135 stitches for a blanket 36, 48 or 60 inches wide, at 9 stitches per 4 inches.
- Bind off: loose. A bind off 10% tighter than the body makes the top 3.6, 4.8 or 6 inches narrower.
- Giant yarn: hold two or more strands together as one and test a swatch first.
The chunky knit blanket last row is where this goes wrong. You have the needles, the yarn and a free weekend, and one worry: the blanket will come off the needles narrower at the top than at the bottom, and by then nothing can be done about it.
The worry is fair.
That worry has a number behind it, and the number is smaller than you fear once you know where it comes from. This guide gives the cast-on for your width, the bind off that keeps the top flat, and a check before the final cut.
If you would rather hold a hook, the last section covers a crochet version, and a written pattern such as Floral Ripple Blanket prints its finished size.
How to knit a chunky blanket and finish the last row flat: the short answer
A chunky knit blanket is a rectangle on large needles. You cast on for the width, knit straight until it is long enough, then bind off. The top edge stays flat when the bind off is as loose as the body of the blanket.
The steps in order:
- Pick the yarn and hold the strands together if you want it thicker.
- Knit a swatch and count stitches per 4 inches.
- Cast on stitches for the width you want.
- Knit in a stitch that lies flat until the blanket is long enough.
- Set aside yarn for the last row before you start it.
- Bind off in pattern with loose stitches.
- Check the width, then cut the yarn and weave in both tails.
A pattern file such as South African Safari Blanket states its size up front, which is the habit to copy: decide the width first.
Most of the free lessons give the last row one line. The row that decides how the blanket looks gets the shortest instruction, and that is the part this guide spends its numbers on.
Pro tip: Do the first bind off on the swatch and measure its edge against the swatch body before you touch the blanket.
Make giant yarn for chunky knitting: hold strands together
You can make giant yarn from ordinary yarn by holding several strands together and knitting them as one. The thickness adds up, so two strands of super bulky yarn behave like a single much thicker thread.
The blanket pattern these numbers come from uses two strands of super bulky yarn held together on 15 mm needles. It gives 9 stitches and 14 rows over 4 inches.
- Choose strands of the same weight, so one does not dominate.
- Wind the strands together into one ball or cake. Loose balls tangle as soon as you pull.
- Knit a swatch with the strands held together.
- Count the stitches over 4 inches and compare with the table below.
Strands of different colour give a flecked, marled look. Strands of different fibre change the drape and the stretch, so the swatch matters more.
I treat the swatch as the real pattern and the printed one as a guess. Patterns sold as files, like Floral Ripple Blanket, say what yarn they used for a reason.
If the swatch has fewer stitches per 4 inches than 9, the blanket will be wider for the same cast-on, and you cast on fewer. If it has more, cast on more. The next section does the sum.
Cast on for your width: stitches for 36, 48 and 60 inches
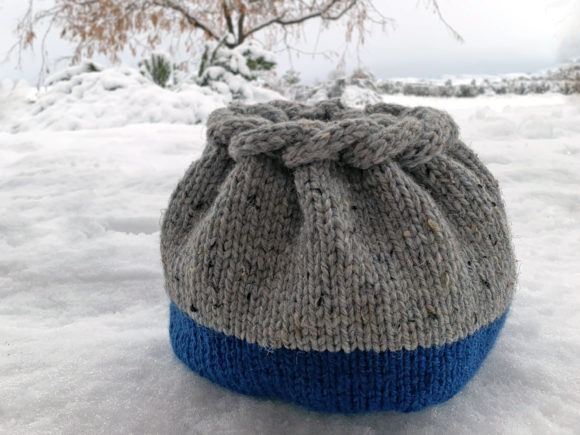
The cast-on is the width in inches multiplied by stitches per inch. At 9 stitches per 4 inches that is 2.25 stitches per inch.
Stitches to cast on = blanket width x 9 / 4.
| Blanket width | In centimetres | Stitches to cast on |
|---|---|---|
| 36 inches | 91 cm | 81 |
| 48 inches | 122 cm | 108 |
| 60 inches | 152 cm | 135 |
These are sums from the gauge, not a measurement on a finished blanket. Your swatch has the last word: swap 9 for your own count per 4 inches and run the same sum.
Most patterns round the cast-on to a number that fits the stitch repeat. For a rib or a moss stitch that means a multiple of two or four, so adjust by a stitch or two and note it down.
An extra stitch at the first corner can stop the corner from rounding off. Add it to the cast-on for a sharp edge.
I write the cast-on number on the ball band before I start. A pattern like Woodland Animal Blanket prints it for every size, and the sum above does the same job for your own width.
Pick a stitch that keeps the top edge flat
Garter stitch, which you knit on every row, lies flat and does not curl. Stocking stitch curls at the top and bottom, and a blanket in it needs a border.
- Garter stitch: flat, thick and warm. It is the easiest choice for a first blanket and the most forgiving at the bind off.
- Moss or seed stitch: flat, with a bumpy surface. It gives a firm edge.
- Rib 1 by 1: stretchy. Bound off in rib it stretches more than plain stitches, so keep the bind off loose and measure.
- Stocking stitch: curls. Add a few garter rows at the top and bottom.
A stitch that lies flat also makes the last row easier to judge. A pattern worked in rows, like Floral Ripple Blanket, states the stitch repeat, so you can see where the width is set before the first row rather than at the last.
I choose garter for any first blanket, and a colour-change pattern such as Woodland Animal Blanket shows what the same flat fabric looks like with motifs on top. You can lay the blanket on the floor and see whether the top matches the bottom.
Why the last row pulls the top edge in and the blanket comes out narrower
A tight bind off has fewer inches of yarn per stitch than the body, so the top edge cannot be as wide as the cast-on. The 81 stitches that made 36 inches at the bottom make less at the top.
You lose more as the blanket gets wider, because the loss is a share of the whole edge. Here is how much narrower the top gets when the bind off stitches are tighter than the rest by 5, 10, 15 and 20 percent.
| Blanket width | Cast-on | 5% tighter | 10% tighter | 15% tighter | 20% tighter |
|---|---|---|---|---|---|
| 36 inches (91 cm) | 81 | 1.8 in | 3.6 in | 5.4 in | 7.2 in |
| 48 inches (122 cm) | 108 | 2.4 in | 4.8 in | 7.2 in | 9.6 in |
| 60 inches (152 cm) | 135 | 3.0 in | 6.0 in | 9.0 in | 12.0 in |
The figures show inches lost off the top edge. At 10% tighter the top of a 36 inch blanket is 32.4 inches, the 48 inch one 43.2 inches and the 60 inch one 54 inches.
Read the table as a comparison.
The percentage is an assumption for comparison and not a reading from a finished blanket. Tension varies from one knitter to the next, but the direction never does: a tighter bind off always costs width.
That is why the rule everywhere is the same: make the closing stitches a little bigger than the working ones. A printed pattern like Floral Ripple Blanket states the finished size, so you can see what the edge is meant to measure.
Set aside yarn for the last row before you cast on
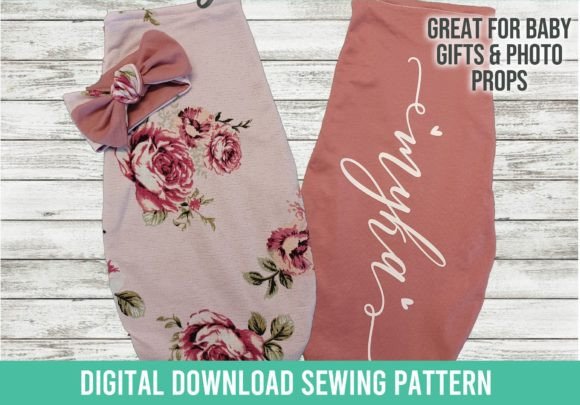
The bind off uses about four times the width of the blanket in yarn, plus 12 inches for the tail. For a 36 inch blanket that is 156 inches, for 48 inches it is 204 and for 60 inches it is 252.
Yarn for the last row = blanket width x 4 + 12 inches of tail.
You measure that length off the ball and tie a loose marker on it, or you pull it out now and leave it to one side.
A written file such as Woodland Animal Blanket lists yardage the same way, so you can compare your sum with it. When the marker reaches the needle, the next row is the last.
If the yarn runs out in the middle of the bind off, you cannot finish the row evenly, and you will see the join.
A join in the middle of a bind off is visible, and the edge will have a lump where the new yarn begins. The full method for the bind off and for joining a new ball without a knot is in how to end a chunky blanket without a knot.
When the blanket is made of several strands held together, set aside that length for every strand. I mark it with a loose tie of scrap yarn. For yarn amounts per size, the DIY chunky yarn blanket guide has the sums.
Bind off in pattern with loose stitches
To bind off chunky blanket stitches, work in the same stitch you knitted the blanket in. In garter stitch you knit the stitches as you bind off, in rib you knit the knit stitches and purl the purl ones.
- Work the first two stitches of the row.
- Lift the first stitch over the second and off the needle. One stitch is left.
- Work the next stitch and lift the stitch before it over it.
- Keep going along the row, one stitch at a time, until one stitch is left.
- Cut the yarn with a tail of 8 to 12 inches and pull it through the last stitch.
Keep every stitch about three to four fingers wide, which is roughly 3 inches on chunky yarn. A wider loop is better than a narrower one, since you can rework a loop that is too big, but you cannot stretch a tight row later.
Do not pull the yarn snug after each stitch. Let it sit on the needle and lie there. I do the same on a hook-made throw like South African Safari Blanket: loose last stitches, then weave.
Pro tip: Bind off with a needle one size larger than the one you knitted with. It makes the loose loops without any effort.
Check the width before you cut the yarn
Lay the blanket flat and rest the bound-off edge on the cast-on edge. They should match, give or take a finger.
I pin a tape measure along both edges when the blanket is large. A pattern with printed sizes, like Floral Ripple Blanket, gives you the number to hit.
- Top and bottom equal: cut the yarn and go on.
- Top narrower: the bind off is too tight. Undo a few stitches and redo them larger.
- Top wider or wavy: the bind off is too loose. Take it back and close the stitches a little smaller.
Check first, cut second. If you are not sure what width the blanket should be for the bed it is going on, the blanket size chart lists the finished measurements by size.
Do it while the loop is still alive on the needle: once the yarn is cut and woven in, undoing the edge costs an hour.
A 36 inch blanket with a top 10% tight is 3.6 inches off. That is the width of a hand, and you see it at once when the two edges lie side by side.
Hide both tails and lay the edge flat
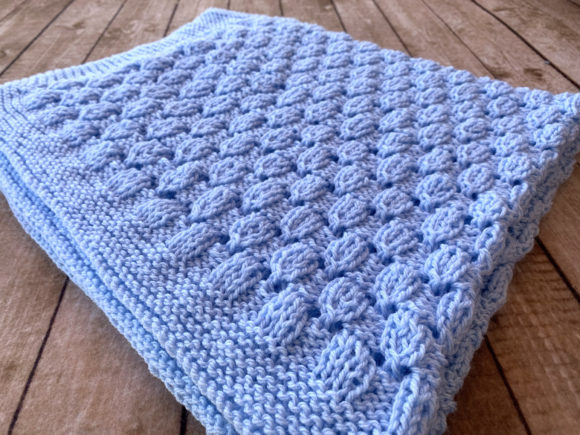
Thread the tail onto a large-eye needle. Weave it along the edge under the stitches, then turn and weave it back under different stitches, so it is held on both passes.
- Pull the cut end through the last stitch and snug it, but not hard.
- Weave the tail along the edge in one direction.
- Turn and weave it back under other stitches.
- Do the same with the tail from the cast-on.
- Trim what peeks out and lay the edge flat.
No knot is needed.
A knot in chunky yarn is a lump you can feel every time the blanket is on your lap, and weaving holds the end along its whole length.
You can pat the edge flat with your hand and tug the blanket gently side to side.
The same weave-in works on Floral Ripple Blanket and any hook-made piece. Neither tail should move. I weave both ends the same day, since a loose tail is easy to lose. For more on hiding ends, see ending a chunky blanket without a knot.
If it goes wrong: fix a top edge that came out tight
If the top is narrower than the bottom after you have finished, you can still fix it, but only by taking the bind off out. The same goes for a hook-made throw such as Floral Ripple Blanket, where you rework the last row.
- Pull the tail out of the last stitch.
- Undo the bind off one stitch at a time, putting each stitch back on the needle.
- Redo the bind off with a larger needle or with looser tension.
- Check the width again before you cut.
If the blanket is washed and blocked, it will relax a little, but it will not make up for a bind off 10% tight. Blocking is for tidying, not for rescuing a tight edge.
You can prevent a tight bind off with a loose hand and a bigger needle.
If you know your closing row runs tight, work it on the larger needle every time. To practise the edge before a full blanket, a smaller project such as Woodland Animal Blanket is a low-stakes place to start.
Crochet a chunky blanket instead: fasten off and a printed size chart
A blanket worked with a hook ends differently. There is no bind off: you fasten off the last stitch, cut a long tail and weave it in.
Because every row is worked to a stated length, the top rarely draws in, and the size comes from the pattern. South African Safari Blanket is one example of a throw written this way.
- Work the last stitch of the last row.
- Cut the yarn and leave a long tail.
- Pull the cut end all the way through the loop on your hook.
- Weave the tail under the stitches along the edge, out and back.
A written pattern that prints its finished size saves you the sum from the table above. I chose the three below for a stated pattern type and left out any listing without a clear description of what the file contains.
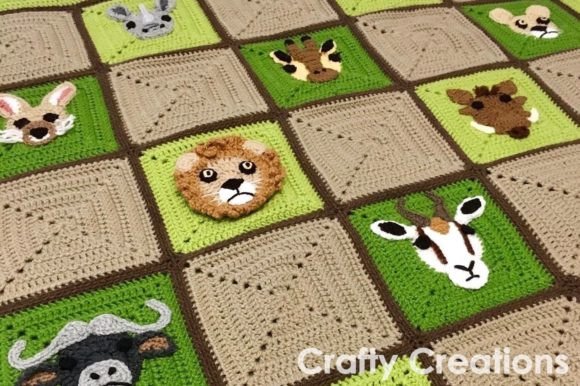
- South African Safari Blanket: a throw in a written file with the finished size stated. It suits you when you want a lap-size blanket and the number to measure against.
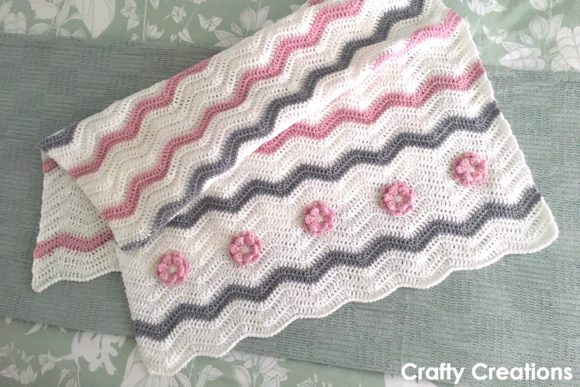
- Floral Ripple Blanket: a ripple blanket worked in rows, so the width is set by the stitch repeat. It suits a maker who wants the edge shaped by the pattern rather than by a border.
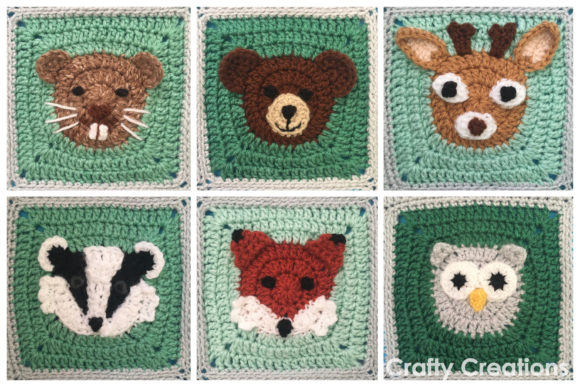
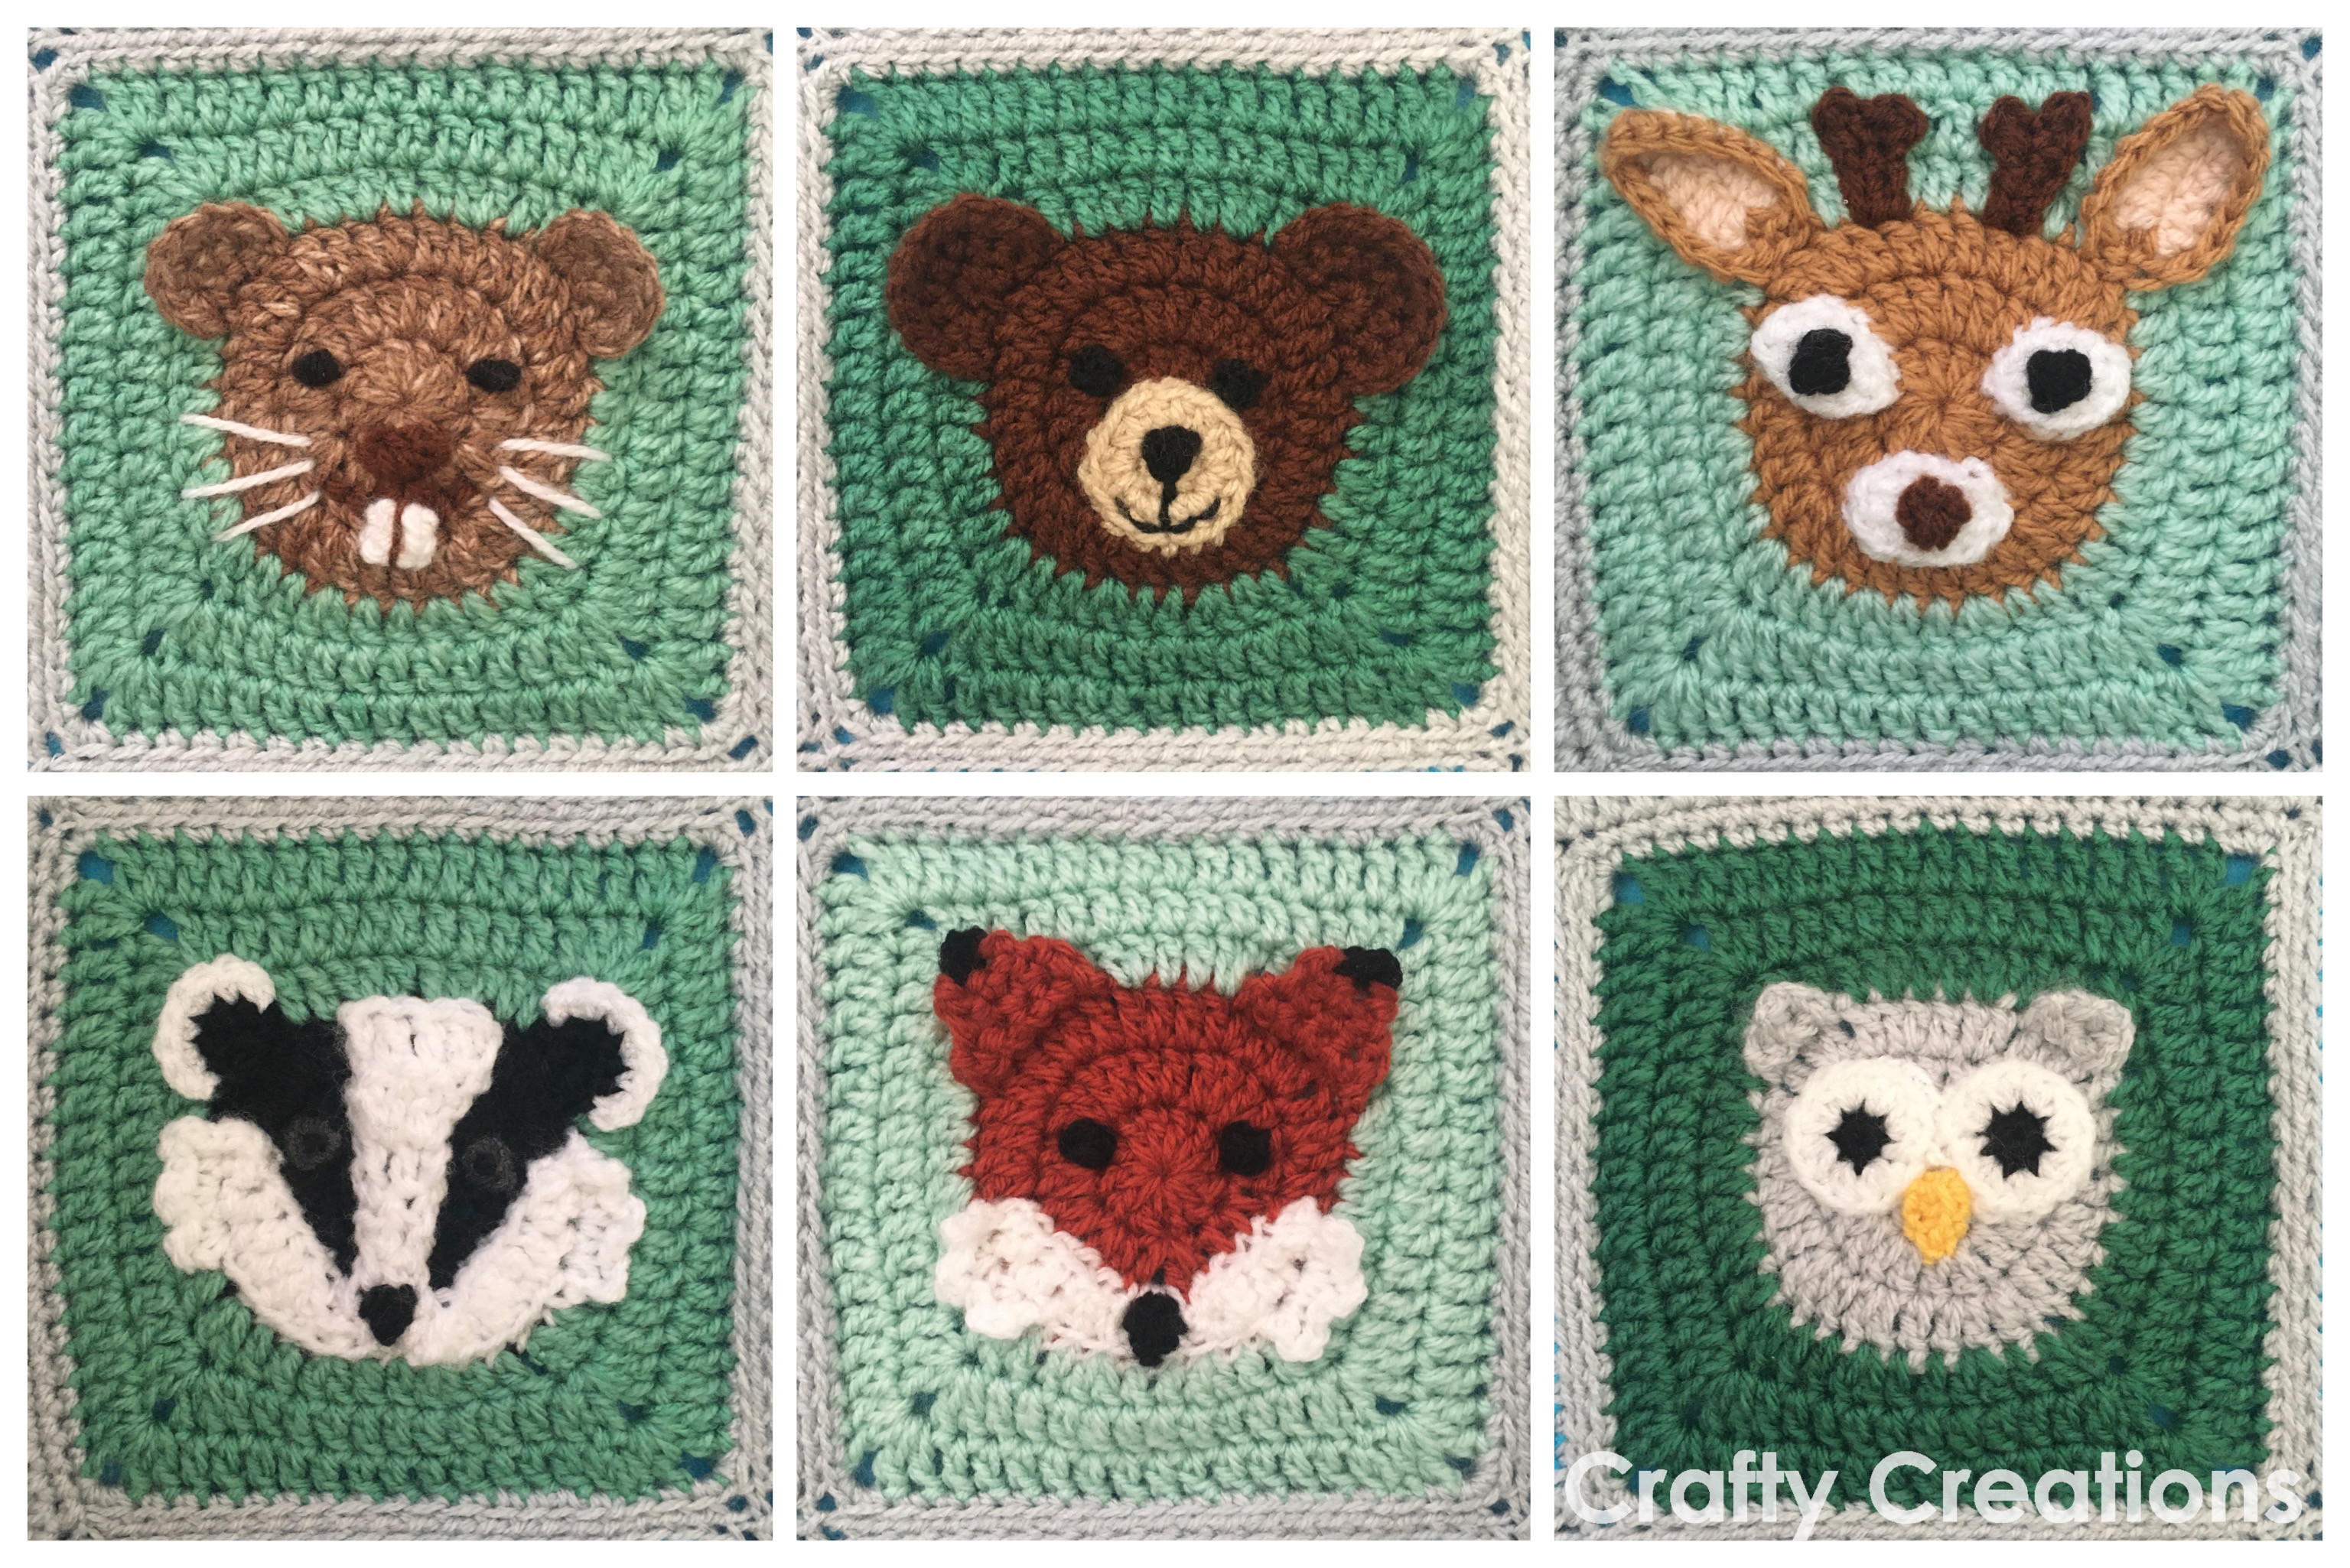
- Woodland Animal Blanket: a themed blanket for a child’s room, worked with colour changes. It is more work than a plain throw and too busy for a quiet one.
For each one, read the finished size in the listing first, then set it against your yarn.
For a corner to corner blanket the width sum is in how to crochet corner to corner, and a first project is in crochet blanket for beginners. Yarn amounts for a bulky throw are in the Bernat chunky blanket guide.
Questions about knitting a chunky blanket
How to knit a chunky blanket?
You cast on stitches for the width, knit in garter stitch until the blanket is long enough, then bind off loosely. For 9 stitches per 4 inches that is 81 stitches for 36 inches.
How to make giant yarn for chunky knitting?
You hold two or more strands together and knit them as one. Wind them into one ball first so they do not tangle, and knit a swatch to count the stitches.
How many stitches do I cast on for a chunky blanket?
The width in inches multiplied by stitches per inch. At 9 stitches per 4 inches it is 81 for 36 inches, 108 for 48 and 135 for 60.
How to finish the last row of a chunky knit blanket?
You bind off in pattern with stitches a little looser than the body, cut the yarn with a tail of 8 to 12 inches and weave it into the edge.
How to bind off a chunky knit blanket so it stays flat?
You keep every closing stitch about three to four fingers wide and do not pull the yarn snug. A bind off 10% tight makes a 48 inch blanket 4.8 inches narrower at the top.
Why is the top of my knitted blanket narrower than the bottom?
The bind off was tighter than the body. Fewer inches of yarn per stitch means a shorter edge, and the loss grows with the width.
How much yarn do I need for the last row?
About four times the blanket width plus 12 inches of tail: 156 inches for 36 inches wide, 204 for 48 and 252 for 60. A written file such as South African Safari Blanket lists its yardage the same way.
How to end a chunky knit blanket without a knot?
You weave the tail under the stitches along the edge, out and back. A longer run of weaving holds better than a knot.
What stitch is best for a chunky blanket?
Garter stitch, which lies flat and does not curl. Moss stitch is also flat. Stocking stitch curls and needs a border. For a hook, Woodland Animal Blanket is a textured option.
Can I fix a bind off that came out too tight?
Yes. Undo the bind off stitch by stitch back onto the needle and redo it with a larger needle or looser tension. Blocking will not fix it.
Can I use ordinary yarn for a chunky blanket?
Yes, if you hold several strands together. Knit a swatch with the strands held together and count the stitches before you cast on.
Is holding yarn double the same as marling?
Both hold two strands together. Marling usually means strands of different colours, which give a flecked look.
How to check the width before cutting the yarn?
Lay the blanket flat and set the bound-off edge on the cast-on edge. If the top is narrower, undo a few stitches and redo them larger.
How do I end a crochet chunky blanket?
You fasten off the last stitch, pull a long tail through the loop and weave it under the stitches along the edge. Floral Ripple Blanket is a first pattern to try it on.
If you are choosing a pattern for the next blanket, South African Safari Blanket and Woodland Animal Blanket both come as written files. A hook-made throw is worked through in the DIY crochet throw guide.